Dual monitors are essential for productivity. Now you can add a second monitor on-the-go with an portable USB monitor. In this tutorial we cover how to add a USB monitor in Ubuntu using the DisplayLink driver as well as how to create an alias in Ubuntu Linux.
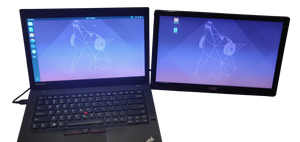
Dual monitors are essential for productivity. They eliminate the interruption of having to flip back and forth between related activities. But what about when you're not at your desk? That's where portable USB monitors come in. (You also needn't spend a lot of money on one- the AOC E1659FWU, which at $89 on Amazon, is an absolute steal.) On Linux, installing the DisplayLink driver that AOC (and many other USB monitors) use isn't the simplest thing to do in the world. The chief reason being that the DisplayLink driver often doesn't present the correct list of available resolutions to Ubuntu. This often manifests itself as a USB monitor that turns on, but displays a bunch of vertical/squiggly lines. In this tutorial I will show you to how install the DisplayLink driver from scratch and update the list of available resolutions presented to Ubuntu.
Installing the Driver:
1. Download the driver from DisplayLink: https://www.displaylink.com/downloads/ubuntu
2. Extract the driver from your Downloads folder.
3. Open a terminal in the extracted file path and run the install script:
sudo ./displaylink-driver-XXXX.runNote that the actual .run will vary based on the version you downloaded. Power user tip here: type out "sudo ./displ" and hit tab to allow the command line to autocomplete the driver for you. I often use this to avoid mistyping a file.
Set a Custom Screen Resolution in Ubuntu:
At this point, our driver is now installed. However, there's a good chance that if you plug in your USB monitor, you'll get those diagonal squiggly lines I was talking about before. This is because the DisplayLink driver often presents the wrong default screen resolutions to our Ubuntu OS. To fix this, we simply need to pass the correct resolutions to Ubuntu. All of the following steps should be completed with the USB monitor plugged in.
1. Obtain the USB device name by plugging in the monitor and running the following command:
xrandr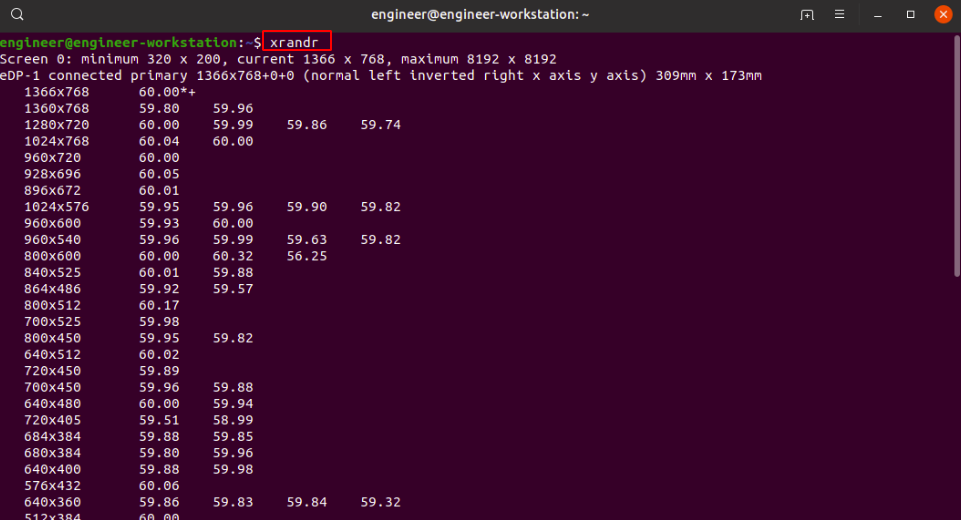
You don't want the first display device you see- that's your primary display device (in my case eDP-1) which is the one on your laptop. You want to scroll down a little until you see a second display device:
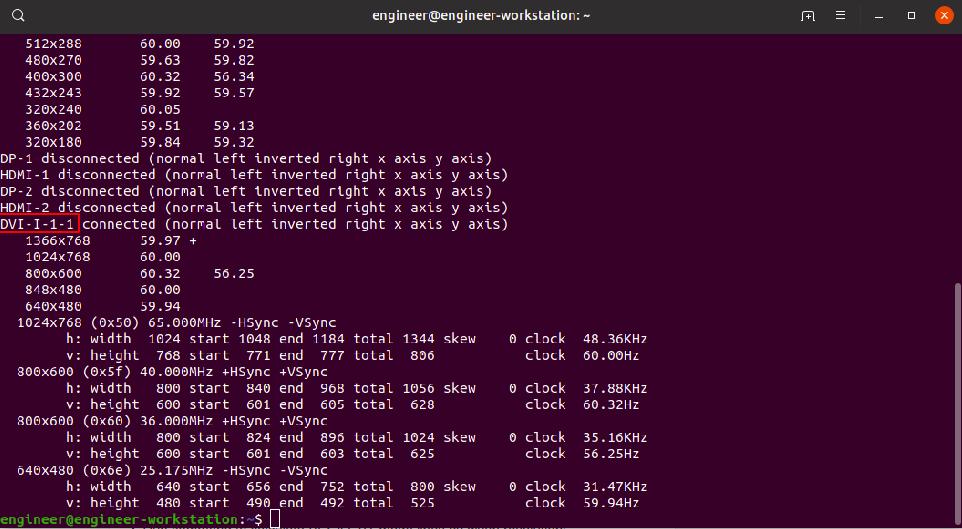
The second highlighted in red is the display device name of your USB monitor. Copy it. We'll need it later.
2. Calculate the modeline for your desired resolution with the following command:
cvt 1360 768Replace the above numbers with your desired resolution. For example, with my particular monitor, the AOC E1659FWU, it appears that its resolution is really 1360x768 and not the default 1366x768 displayed above. The above command will give you an output like this:

Copy the highlighted section.
3. Add the new mode you copied above to xrandr with the following command:
sudo xrandr --newmode <modeline info copied from Step 2 above goes here>In my case, this command would look something like this:
sudo xrandr --newmode "1360x768_60.00" 84.75 1360 1432 1568 1776 768 771 781 798 -hsync +vsync
4. Add the new mode you created in Step 3 above to the display device you found in Step 1:
sudo xrandr --addmode <display device from Step 1> <mode name from Step 3>
Again, in my case, this command looks like so:
sudo xrandr --addmode DVI-I-1-1 "1360x768_60.00"5. Update the external USB monitor with your new resolution in the Displays settings in Ubuntu:
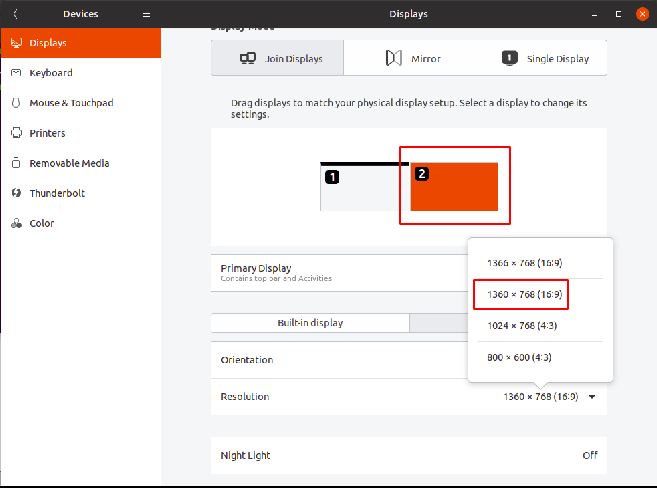
You may have to unplug your USB monitor and launch the Displays settings screen with it unplugged here (Ubuntu has a tendency to try to load the configuration screen onto the messed up monitor which means you won't be able to fix its resolution).
Create an Alias Command:
The settings we just made aren't persistent across sessions. So we don't have to go through all these steps every single time, let's create an alias so we can execute all these steps in a single command. You can think of an alias as a shortcut for executing multiple complete commands with a single short one.
In Ubuntu, aliases are stored in the .bash_aliases file found in your user home directory (the directory your terminal opens to by default). To get started, open a terminal and type the following:
nano ./.bash_aliasesAliases take the following form:
alias <aliasNameHere>='<commands to execute here>'In our case, I want to create an alias that I will call extdisp and I want it to execute the commands we used in Steps 3 and 4 above, so in nano, I have the following entered:
alias extdisp='sudo xrandr --newmode "1360x768_60.00"   84.75  1360 1432 1568 1776  768 771 781 798 -hsync +vsync
sudo xrandr --addmode DVI-I-1-1 "1360x768_60.00"
xrandr --output DVI-I-1-1 --mode "1360x768_60.00"'
Save your edits and now you should be able to simply enter extdisp whenever you want to reattach your display after a reboot. (Note that when you create a new alias, it won't work in the shell (terminal) that you currently have open. You'll have to open up a new terminal).
As always, if you have any questions, feel free to ask them here.